Previously, for my developer/gaming rig, I had a setup with one barely
functioning 1TB HDD and a small SSD (128GB) or something. I also had a server
with another 1TB HDD, a DNS321 with 2x1TB HDD in a RAID1, and a USB3.0 HDD
enclosure with a 1TB HDD in it. I also had many HDDs just sitting around from
when I last used RAID more often.
I did an inventory of the drives available:
- 6x 1TB WD Blue
- 3x 1TB WD Black
- 2x 1TB WD Green
- 2x Seagate Barracuda (I think I used to a have a third but it died)
- 1x 128GB SDD
## The new setup
The DNS321 works well enough, but its getting quite slow as it's showing its
age. I like that I can run Linux on it, and its good enough for sync'd backups
of pictures and such, but not for things like streaming videos via plex. After
some benchmarking, it appears to top out at about 15Mbps which is annoying.
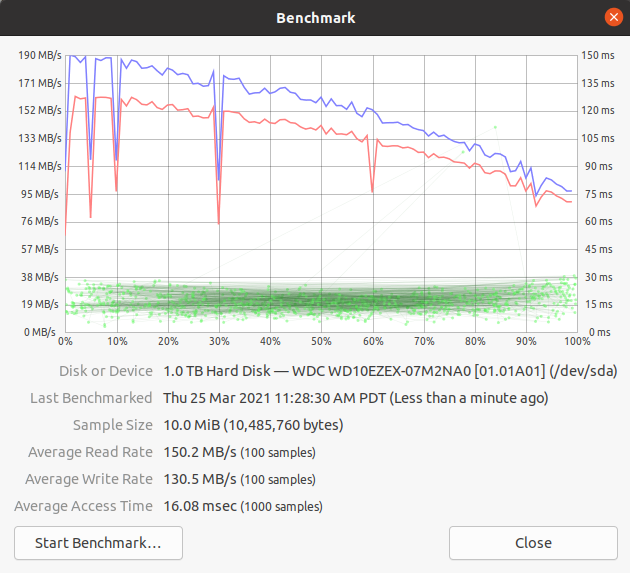
In comparison, the USB 3.0 HDD enclosure achieved around 150MB/sec read
(1200Mbps) and 130MB/sec write (1040Mbps).

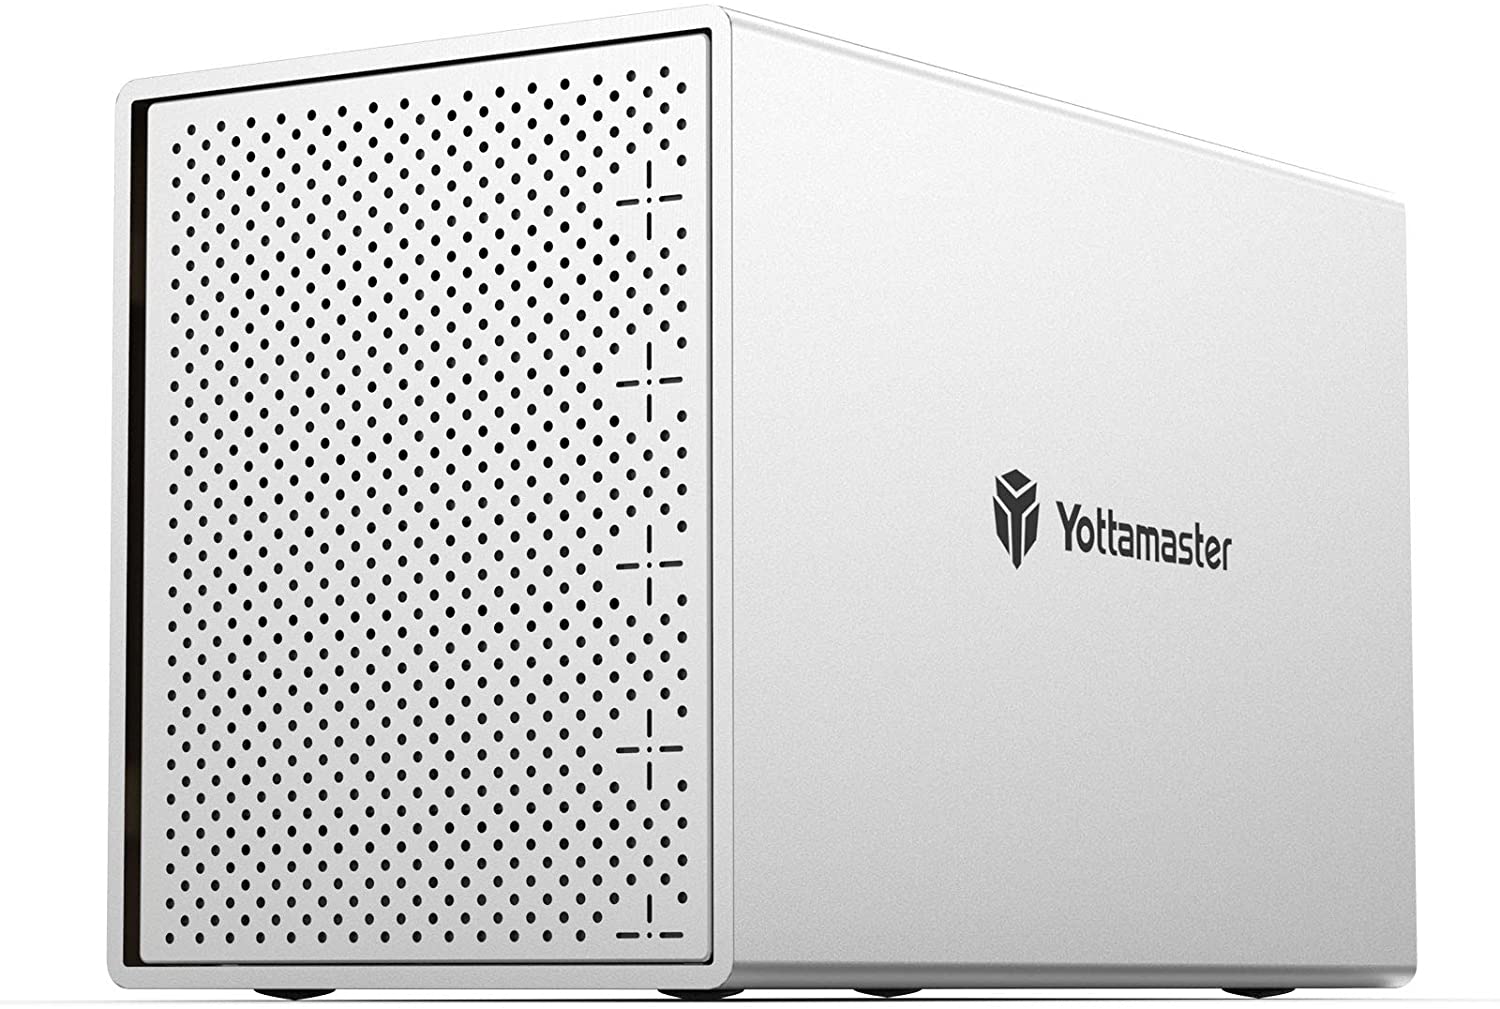
I decided since I have so many drives, I'd pickup a cheap modern RAID enclosure
and opted for a 5-bay Yottamaster: https://www.amazon.com/Yottamaster-Aluminum-Enclosure-Support-Silver/dp/B071ZP2HFK
to stick the WD Blues inside using a RAID5 setup.

I also decided to upgrade to a larger SSD, since I dual boot Windows and Linux
and wanted to split the faster drive throughput between the two and 128GB is
not enough, so I got a WD green 1TB SSD (with throughput of ~500MB/sec =
4000 Mbps).
### Computer 1: developer / gaming
On this computer, I was going to use the 3X 1TB WD Black for slower storage and
then split the 1TB WD Green SSD between windows and linux. I wanted to use the
3X 1TB in a software raid on each OS (The motherboard I have doesn't seem to
support RAID directly). Each HDD and the SSD were essentially going to be split
in half and then a partition made for each OS since it was going to be dual boot.
### Computer 2: server
On this computer, I was installing Ubuntu 20.04 server, and using mdadm for a
software RAID1 with the 2x Barradcudas for the `/home` partition. I was also
going to take the 128GB SSD and use it for the root directory so that things
booted and loaded faster. This was all fairly easy to do since the server
version of the Ubuntu 20.04 installer includes mdadm and has a GUI for setting
it up. If you need a guide, this one looks similar to what I did:
https://gist.github.com/fevangelou/2f7aa0d9b5cb42d783302727665bf80a
## Windows 10 / Ubuntu 20.10
This was more of a beast to do. Generally I've found with dual booting, it works
best if you install windows 10 first, then install Ubuntu because otherwise
Windows may clobber Grub (The Linux bootloader which also detects and
chain-loads the Windows bootloader).

Some things I learned:
- Make sure you have the default boot drive selected to the SSD (and not one
of the RAID drives, or else Windows will install its bootloader to one of
the RAID drives which will then get clobbered later)
- Windows can't create a mirrored volume with more than one disk in the disk
utility tool. It also can't do this with a simple disk (it needs to use a dynamic
disk, which apparently Linux can't read - this makes it difficult to have a
RAID on both OS's)
- There is a thing called Storage Spaces on Windows, but it is made for full
disks, not partitions, again making it difficult
- You can "attach" virtual disks VDH's to the Disk Utility and they will show
up as full disks which you can then use to make a Storage Space which
performs mirroring / striping.
- The attaching of VDH's is not persistent, but you can create startup tasks
to do so.
### How I made it work:
1. Wipe all the partitions on all the disks with Ubuntu live usb to start
2. Set default BIOS boot disk to SSD
3. Install windows to the SSD using only half of the disk.
4. Install ubuntu 20.10 to the other half of the SSD
5. Make sure windows still boots
6. Boot back into ubuntu. Install mdadm. Create a partition on each HDD taking
half of the space. Set the type of the partition to linux RAID.
7. Create the raid1 array (https://www.linuxbabe.com/linux-server/linux-software-raid-1-setup):
`sudo mdadm --create --verbose /dev/md0 --level=1 --raid-devices=3 /dev/sda1 /dev/sdb1 /dev/sdd1`
(my SSD was /dev/sdc. Also note that I'm using the partitions, not the entire disks).
8. Create the mdadm config file, update initramfs:
`sudo mdadm –details –scan | sudo tee –a /etc/mdadm/mdadm.conf
sudo update-initramfs -u`
9. Add the RAID to the fstab:
`/dev/md0 /home ext4 defaults,nofail,discard 0 0`
(first I temp mounted it to /mnt/md0 and then copied the existing /home over
to it, unmounted it and rebooted and it was good)
10. Booted into windows, created a simple volume on the other half of each HDD.
I set the letter of each drive to the ends of the alphabet so I wouldn't get
confused.
11. In the disk utility, create VHD for each drive, save it on the drive, set it
to dynamically grow (the other one is too slow). After these are created,
they will be attached so they will show up in the Storage Spaces.
12. Followed this guide to automount the VHDs https://winaero.com/automatically-mount-vhd-or-vhdx-file-on-startup-in-windows-10/

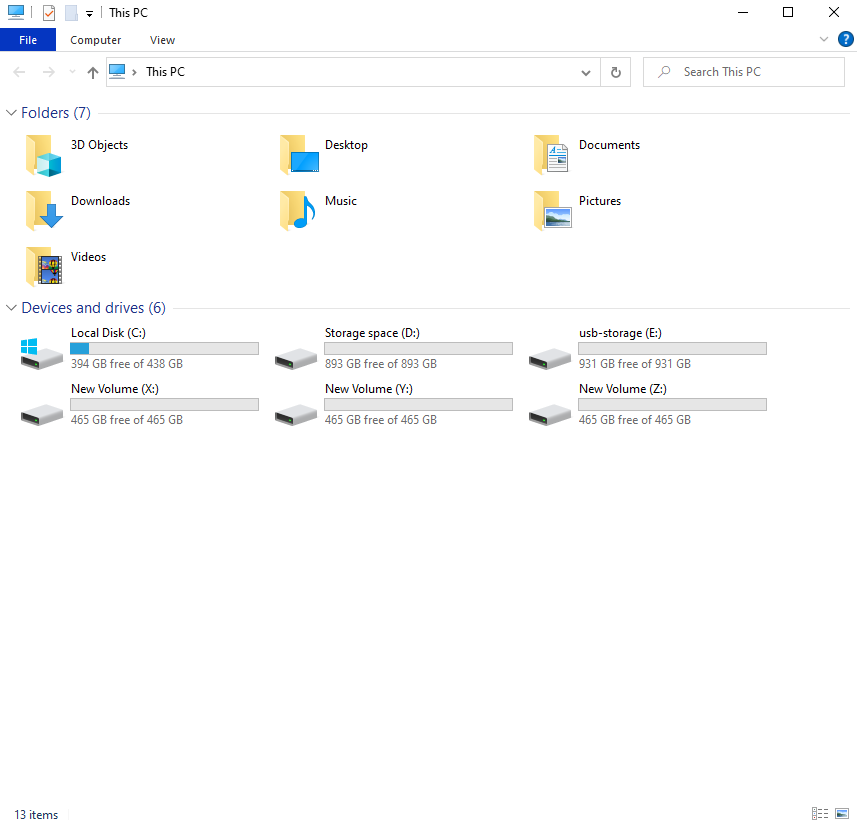
(the resulting windows drives: c: is the partition on the SSD, d: is the storage set, e: is a usb hdd, x,y,z are the partitions on the raid disks.

(one of the raid disks as seen in the linux partitioner, 1st 500GB is for linux raid, second is for windows storage spaces)

(the ssd disk from linux showing the windows partition + windows boot partition, the EFI boot partition and the linux partition. The only two I created were the two large partitions, the rest were created by the installers)